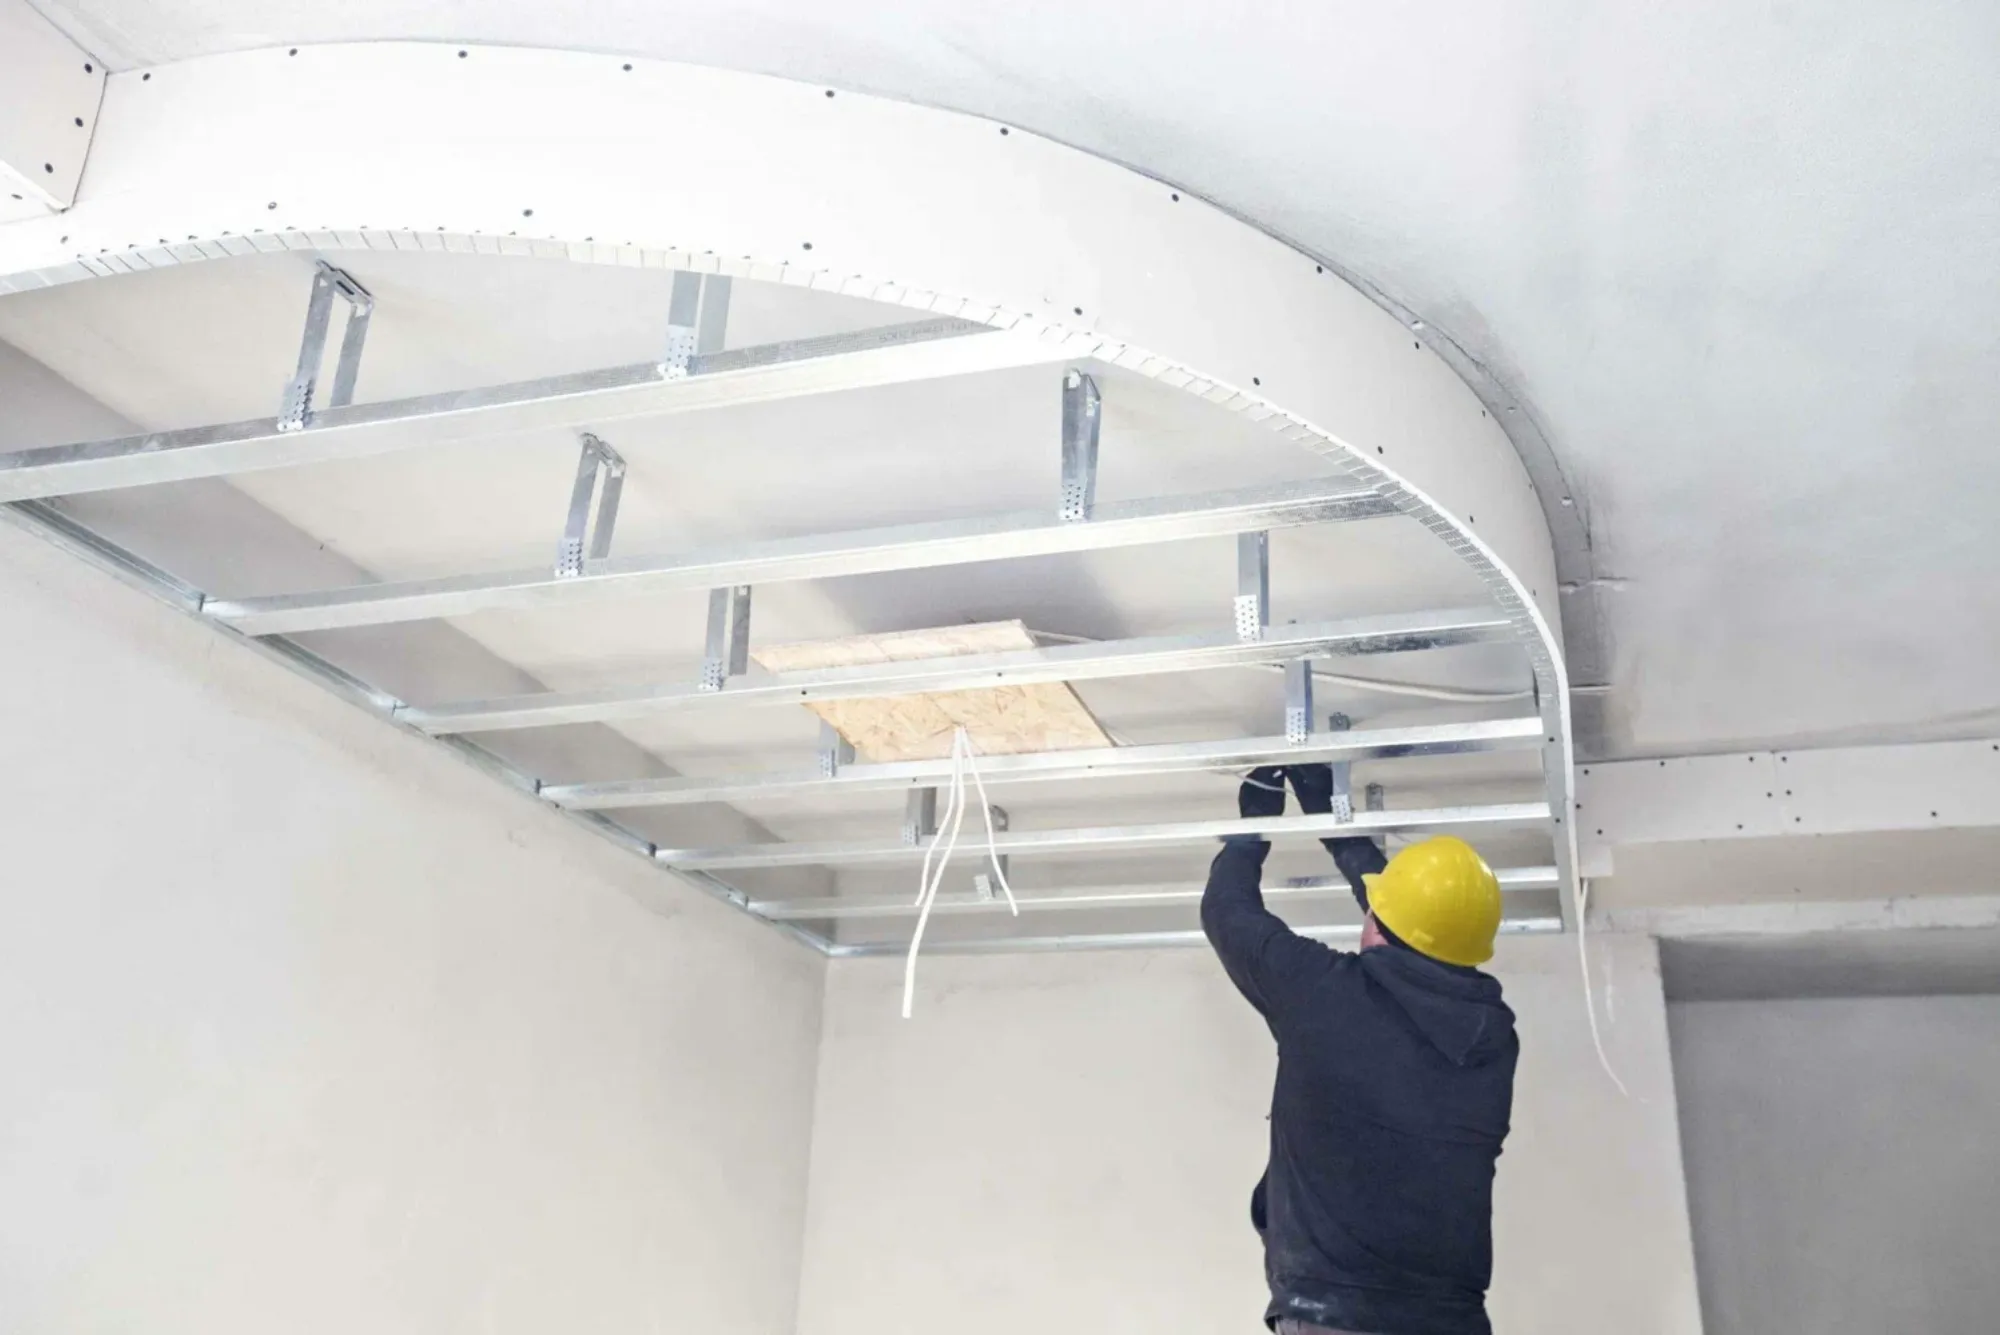
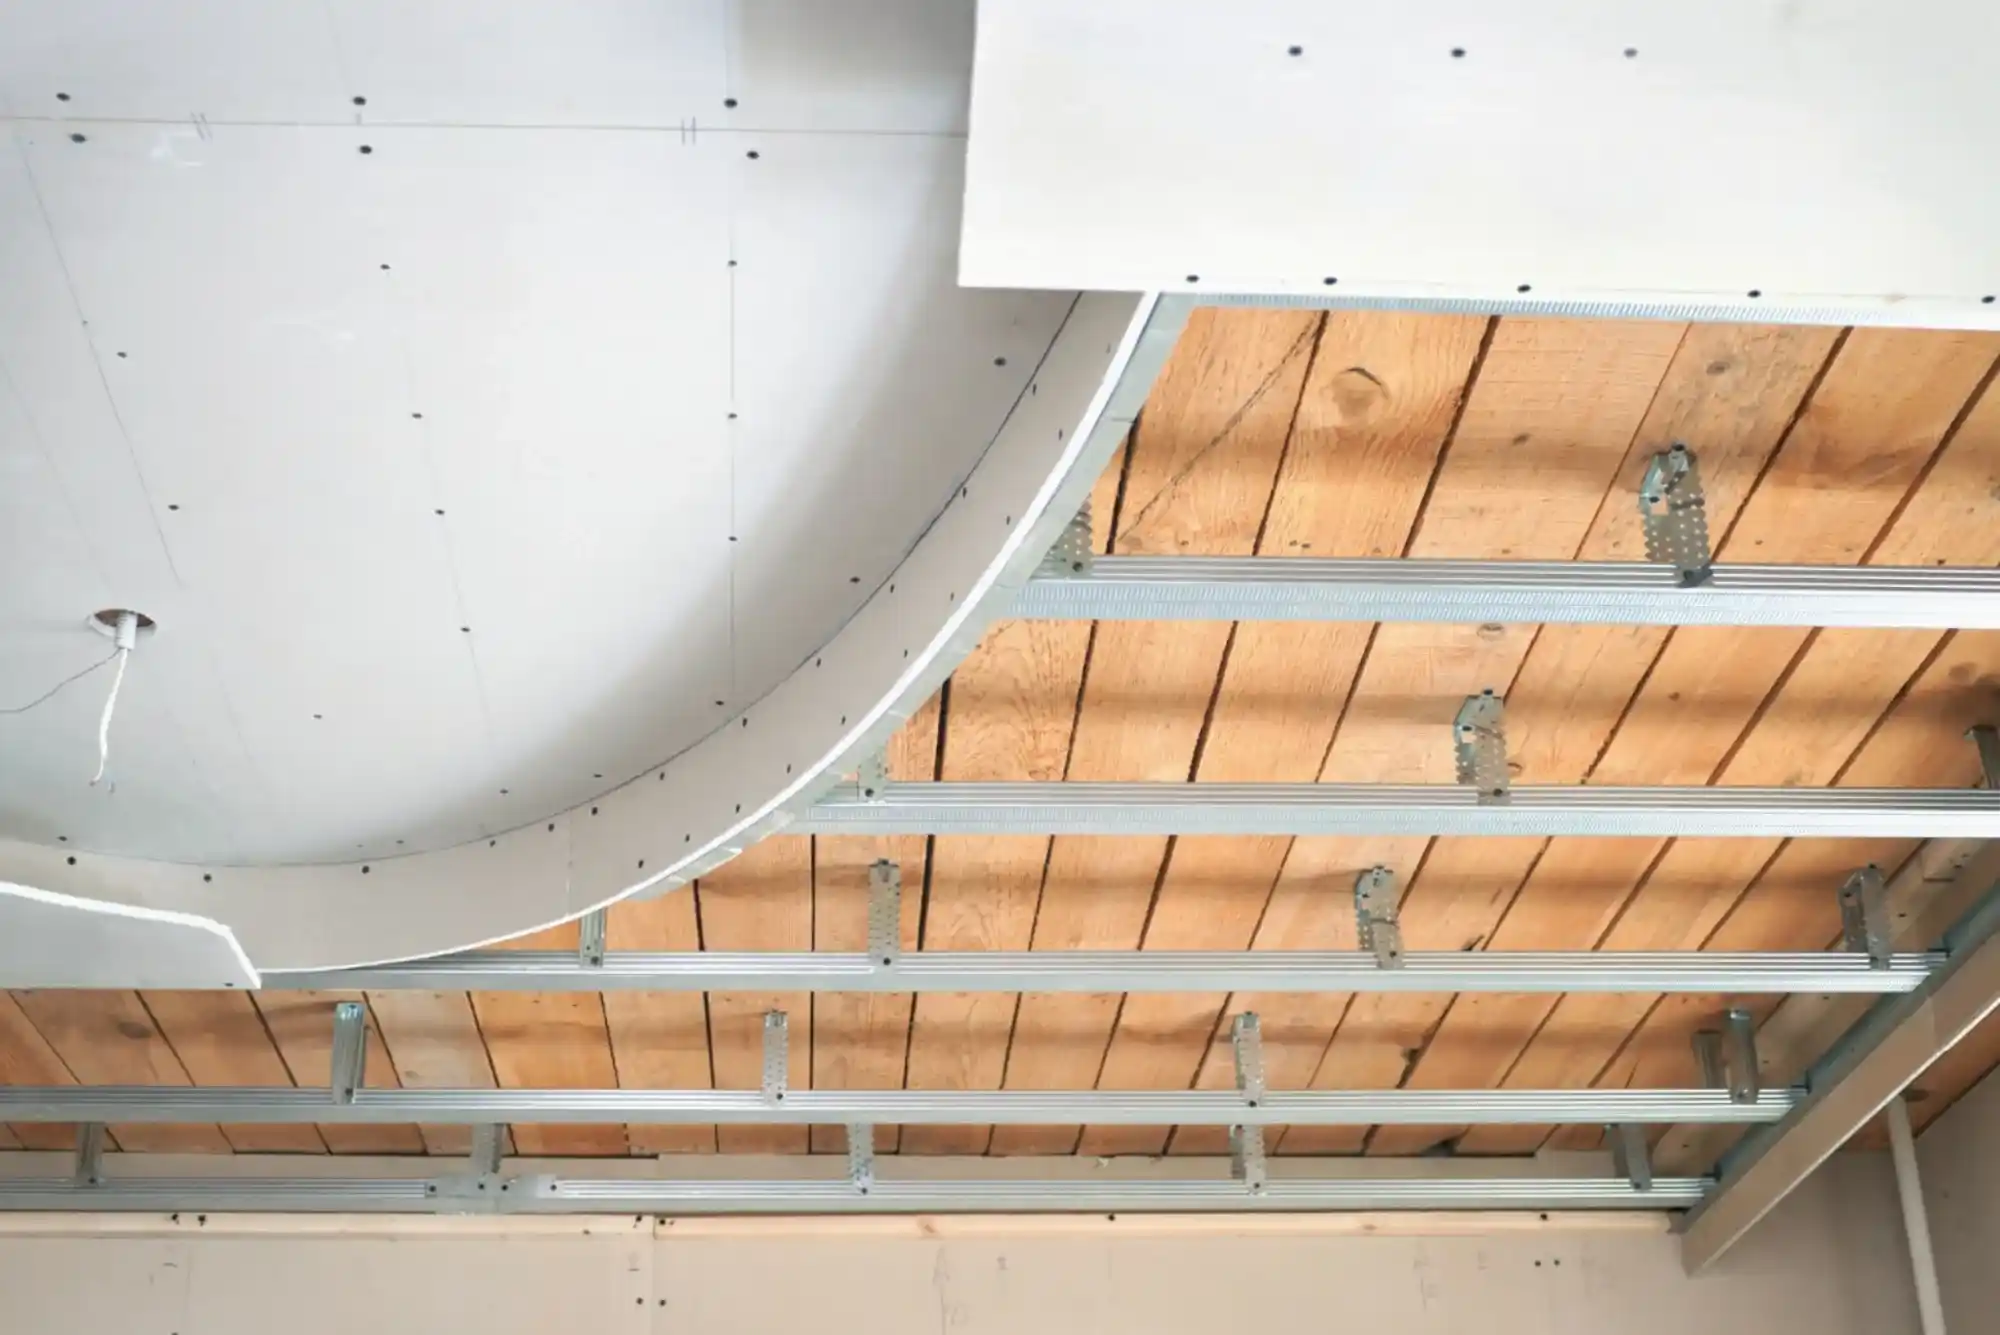
The process of finishing drywall in a room involves several stages, including taping, bedding, and texturing. These steps are essential to achieving a polished and professional look for any interior space. For a room sized 20×10 feet, understanding the costs associated with this project is crucial, as it helps homeowners plan their budgets effectively. This article explores the factors influencing the cost, labor involved, and materials required to complete drywall taping, bedding, and texturing for a 20×10 room.
Understanding the Process of Drywall Taping, Bedding, and Texturing
Drywall taping is the initial step in creating smooth walls. It involves applying tape to the seams where two pieces of drywall meet. Joint compound is used to secure the tape and ensure the edges blend seamlessly into the surface. This step is labor-intensive and requires precision, as any imperfections will show through the final texture. Once the tape is applied, the next step is bedding. Bedding involves applying multiple coats of joint compound to cover the tape and screws, ensuring the wall surface is even. Each layer must be sanded down before the next is applied to maintain a flawless finish. The final step is texturing the drywall, which can be done in various styles, such as orange peel, knockdown, or smooth finish. Texturing adds a decorative element and can also hide minor imperfections in the drywall.
Factors Influencing the Cost

The total cost for taping, bedding, and texturing a 20×10 room depends on several factors. First, the size and surface area of the room play a significant role in determining the cost. A 20×10 room translates to 200 square feet of floor space, but the actual wall surface area to be finished includes all four walls and possibly the ceiling. This significantly increases the total square footage that needs attention. Material costs are another important factor. Materials like drywall tape, joint compound, and texture sprays or tools vary in price based on quality and brand. Opting for premium materials can elevate the cost. Labor rates also vary depending on geographic location and contractor expertise. Experienced professionals charge more but ensure a high-quality finish. The desired texture style affects the price as well, as certain textures require more time and effort to complete. Additionally, if the room requires existing drywall removal, repair, or priming, these preparatory tasks will add to the overall cost.
Estimated Costs for a 20×10 Room
The following table provides an estimate of the costs involved in drywall taping, bedding, and texturing a 20×10 room. These figures can vary based on the factors mentioned above.
| Component | Estimated Cost Range |
|---|---|
| Drywall Tape & Joint Compound | $50 – $150 |
| Texturing Materials | $30 – $100 |
| Labor Costs | $400 – $800 |
| Tools & Equipment Rental | $50 – $100 |
| Miscellaneous Expenses | $20 – $50 |
| Total Estimated Cost | $550 – $1,200 |
Breaking Down the Costs in Detail

For a 20×10 room, you may need around two to three rolls of drywall tape and several buckets of joint compound. The cost of these materials is relatively low compared to labor. Texturing materials, such as spray cans or hopper guns, are also affordable but can vary based on the desired effect. Labor charges depend significantly on the complexity of the work and local rates. Professionals typically charge by the square foot, and for a room this size, costs can range between $2 and $5 per square foot, including all stages of the drywall finishing process. If you decide to undertake this project yourself, you may need to rent or purchase tools like drywall knives, sanders, and texture sprayers. While DIY can save on labor, it requires time, patience, and a degree of skill to achieve professional results.
Timeframe for Completion
For a 20×10 room, the time required for taping, bedding, and texturing depends on the crew size and project complexity. A skilled team might complete the project in 3-5 days, allowing for drying time between each coat of joint compound. DIYers might need more time, especially if unfamiliar with the process.
DIY vs. Hiring Professionals
One of the critical decisions homeowners face is whether to tackle drywall taping, bedding, and texturing themselves or hire professionals. While DIY might save on labor costs, it often leads to longer completion times and a higher margin for error. Hiring experts ensures a flawless finish but comes at a premium cost. DIY offers cost savings, the opportunity to learn new skills, and flexibility in scheduling. On the other hand, hiring professionals ensures superior quality of work, faster completion times, and access to advanced tools and techniques.
Tips to Save Costs
To reduce the overall cost of taping, bedding, and texturing, consider purchasing materials in bulk. Buying joint compound, tape, and texture supplies in larger quantities can reduce costs. Additionally, obtaining multiple quotes from contractors can help you find competitive pricing. Preparing the room yourself, such as clearing furniture and repairing minor wall damage, can reduce preparation charges. Opting for simpler textures can also save on time and labor costs, as complex patterns often require more materials and work.
Drywall taping, bedding, and texturing are essential steps in achieving a polished and durable interior finish. For a 20×10 room, costs can range between $550 and $1,200, depending on factors such as materials, labor, and texture style. Whether you decide to hire professionals or take on the project yourself, understanding the process and associated expenses ensures better budgeting and satisfactory results. By weighing the pros and cons of DIY versus professional help and taking steps to reduce costs, homeowners can achieve their desired look without exceeding their budget.


