Introduction
When it comes to finishing a room, drywall tape, bed, and texture play a huge role in giving walls a polished, professional look. If you’re considering a 20×10 room, knowing the cost and process is essential for planning your budget and timeline. From labor expenses to materials and techniques, this guide covers everything you need to know to achieve flawless walls.
Understanding Drywall Tape, Bed, and Texture
Drywall finishing involves multiple steps. Taping fills the joints between sheets, bedding applies joint compound for a smooth surface, and texturing adds aesthetic appeal. The 20×10 room size, roughly 200 square feet of wall space, is common for bedrooms or small living areas. Prices vary based on material quality, room complexity, and labor costs.

Drywall tape comes in paper or fiberglass mesh. Paper tape is traditional and strong, while mesh tape is self-adhesive and faster to install. Bedding involves applying layers of joint compound over the taped seams. A typical finish requires three coats, with sanding in between to achieve a smooth surface. Texture adds character to your walls, from knockdown and orange peel to popcorn finishes.
Cost Breakdown for a 20×10 Room
Materials
The primary materials include drywall tape, joint compound, sandpaper, and texture tools. For a 20×10 room, expect to spend around $50-$100 on tape and bedding supplies. Texture materials vary depending on type—knockdown and orange peel are moderate in cost, while specialty textures can be pricier. High-quality joint compound ensures a durable finish and reduces cracks over time.
Labor Costs
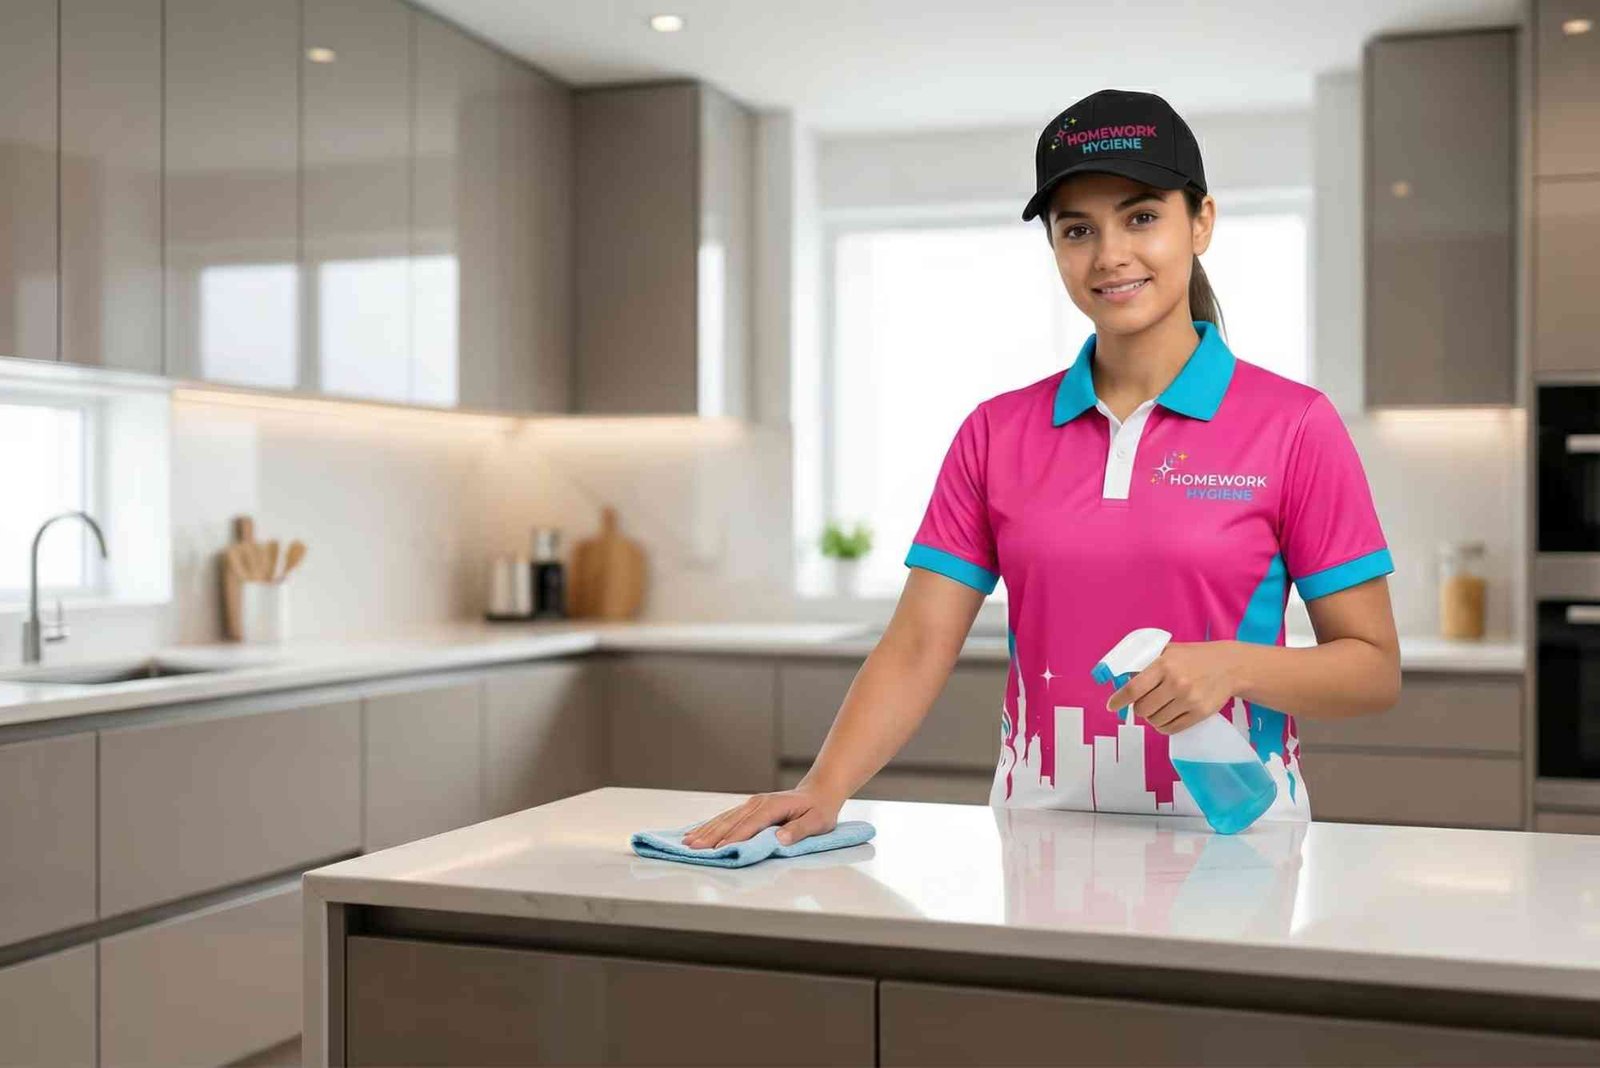
Labor costs are often the largest expense. Professional drywall installers charge between $1.50 and $3 per square foot for taping and bedding. Texturing adds another $0.50-$1.50 per square foot depending on complexity. For a 20×10 room, labor may range from $400 to $800 for taping and bedding and $100 to $300 for texturing. Skilled professionals guarantee a smooth, uniform finish that’s hard to replicate with DIY methods.
DIY vs Professional Installation
DIY installation can save money but requires skill and patience. Taping joints evenly, applying smooth bedding layers, and achieving consistent texture is challenging for beginners. Mistakes may lead to uneven surfaces and costly rework. Hiring professionals ensures quality and saves time. However, DIY can be suitable if you’re experienced or willing to invest effort.
Process to Drywall Tape, Bed, and Texture
Preparing the Walls
Before taping, clean the drywall surface and remove dust or debris. Make sure screws or nails are slightly recessed. Cover the floor and furniture to protect from dust and splatter. Good preparation reduces sanding work later and ensures better adhesion.
Applying Drywall Tape
Use paper or mesh tape to cover seams between drywall panels. For paper tape, apply a thin layer of joint compound first, embed the tape, then smooth with a taping knife. For mesh tape, stick directly to the joint and cover with compound. Proper tape application prevents cracks and strengthens the seams.
Bedding
Apply the first coat of joint compound over taped seams using a wide taping knife. Let it dry completely, then sand lightly to remove ridges. Repeat with a second and third coat, feathering edges for a smooth transition between panels. Each coat improves durability and surface smoothness.
Texturing the Walls
Choose a texture style based on your room design. Knockdown texture gives a rustic, soft appearance, while orange peel creates a subtle, even pattern. Popcorn texture is traditional but less popular in modern homes. Apply texture using a sprayer, roller, or trowel, then let it dry. Some textures require a light knockdown or sanding to refine the finish.
Final Touches
Inspect walls for imperfections. Fill any small gaps with compound and touch up areas as needed. Once dry, sand lightly and wipe the surface clean. Your walls are now ready for priming and painting. Proper finishing improves the longevity and appearance of your drywall work.
Tips to Reduce Costs and Improve Results
Selecting the right materials is key. Opt for quality tape and joint compound to avoid cracking. If hiring professionals, get multiple quotes and check past work reviews. Plan your texture choice early, as complex textures may increase labor costs. Avoid rushing the drying process, as patience ensures smoother walls and better paint adhesion.
For small DIY projects, consider doing taping and bedding yourself and hiring a professional for texturing. This hybrid approach can lower costs without sacrificing quality. Using a sanding block with a pole can make the finishing process faster and reduce back strain.
Inspiration for Your 20×10 Room
Wall texture can transform a simple 20×10 room. Soft knockdown finishes create a cozy, inviting atmosphere, perfect for bedrooms. Orange peel textures add subtle depth and suit living areas. Bold textures or accent walls can highlight certain areas without overwhelming the room. Pairing textured walls with complementary paint colors enhances room aesthetics.
Browse Houzz for creative drywall texture ideas and finished room inspiration to match your style. Using references ensures you choose a texture that complements furniture, lighting, and overall design.
When to Do Drywall Tape, Bed, and Texture
Timing matters. Ideally, drywall finishing is done after insulation and wiring but before flooring and trim installation. Ensure the room is dry and well-ventilated to accelerate drying of joint compounds. Scheduling in mild weather reduces the risk of cracks caused by high humidity or temperature fluctuations.
Drywall taping, bedding, and texturing is essential for a polished 20×10 room. Costs vary based on materials, labor, and chosen texture, but planning can keep expenses manageable. Whether you DIY or hire professionals, following proper steps ensures smooth, durable walls. Your finished room will not only look appealing but also increase the value and comfort of your home.
Ready to transform your space? Read about cost to drywall tape bed and texture 20×10 room and start planning your project today. For more inspiration, check out More home & decoration articles and browse design ideas on Houzz.
Discover how to easily register your Home Decorators Collection products for warranty and enjoy peace of mind. From step-by-step guidance to helpful tips, this guide ensures a smooth process. Learn more about Home Decorators Collection warranty registration here.
FAQs
How much does it cost to drywall a 20×10 room?
The average cost ranges from $500 to $1,000, including materials and labor for taping, bedding, and texturing.
Can I DIY drywall tape and bed a room?
Yes, but it requires skill and patience. Beginners may find achieving a smooth finish challenging.
What is the best texture for a bedroom?
Knockdown or orange peel textures work best for cozy, inviting spaces with subtle visual interest.
How long does it take to finish a 20×10 room?
Professional finishing usually takes 2-4 days, including drying and sanding between coats.
Does textured drywall increase room value?
Yes, professionally finished walls enhance appearance and durability, which can positively impact resale value.
Where can I find design inspiration for drywall texture?
Check platforms like Houzz for creative ideas, trending styles, and professional examples.