Introduction
When it comes to achieving comfort, energy efficiency, and stylish air circulation at home, ceiling fans remain one of the most practical solutions. Among modern options, Wellspeed ceiling fans stand out for their high performance, durability, and sleek design. However, even the best ceiling fan can underperform if it isn’t installed correctly. That’s why understanding Wellspeed Ceiling Fan Installation: Explained in detail is essential. This comprehensive guide will walk you through every important aspect of the process — from preparation to post-installation maintenance — so you can enjoy optimal airflow and safety at home.
Understanding Wellspeed Ceiling Fans
Before diving into the installation process, it’s worth knowing what makes Wellspeed fans unique. Wellspeed ceiling fans are designed to provide superior air movement while consuming minimal electricity. Their aerodynamic blade design and energy-efficient motors ensure consistent performance even in large rooms. In addition, they come in various models suitable for different ceiling heights, styles, and room sizes. Whether you’re looking for a simple single-speed fan or a remote-controlled smart version, Wellspeed offers versatility that fits every modern household.
Why Proper Installation Matters
Many homeowners underestimate the importance of proper ceiling fan installation. A poorly installed fan can wobble, make noise, or even pose safety risks. With Wellspeed Ceiling Fan Installation: Explained, it becomes clear that precision and safety go hand in hand. A correctly mounted fan distributes air efficiently, runs quietly, and lasts longer. Moreover, following the right installation steps ensures warranty compliance and protects your electrical system from potential short circuits or overloads.
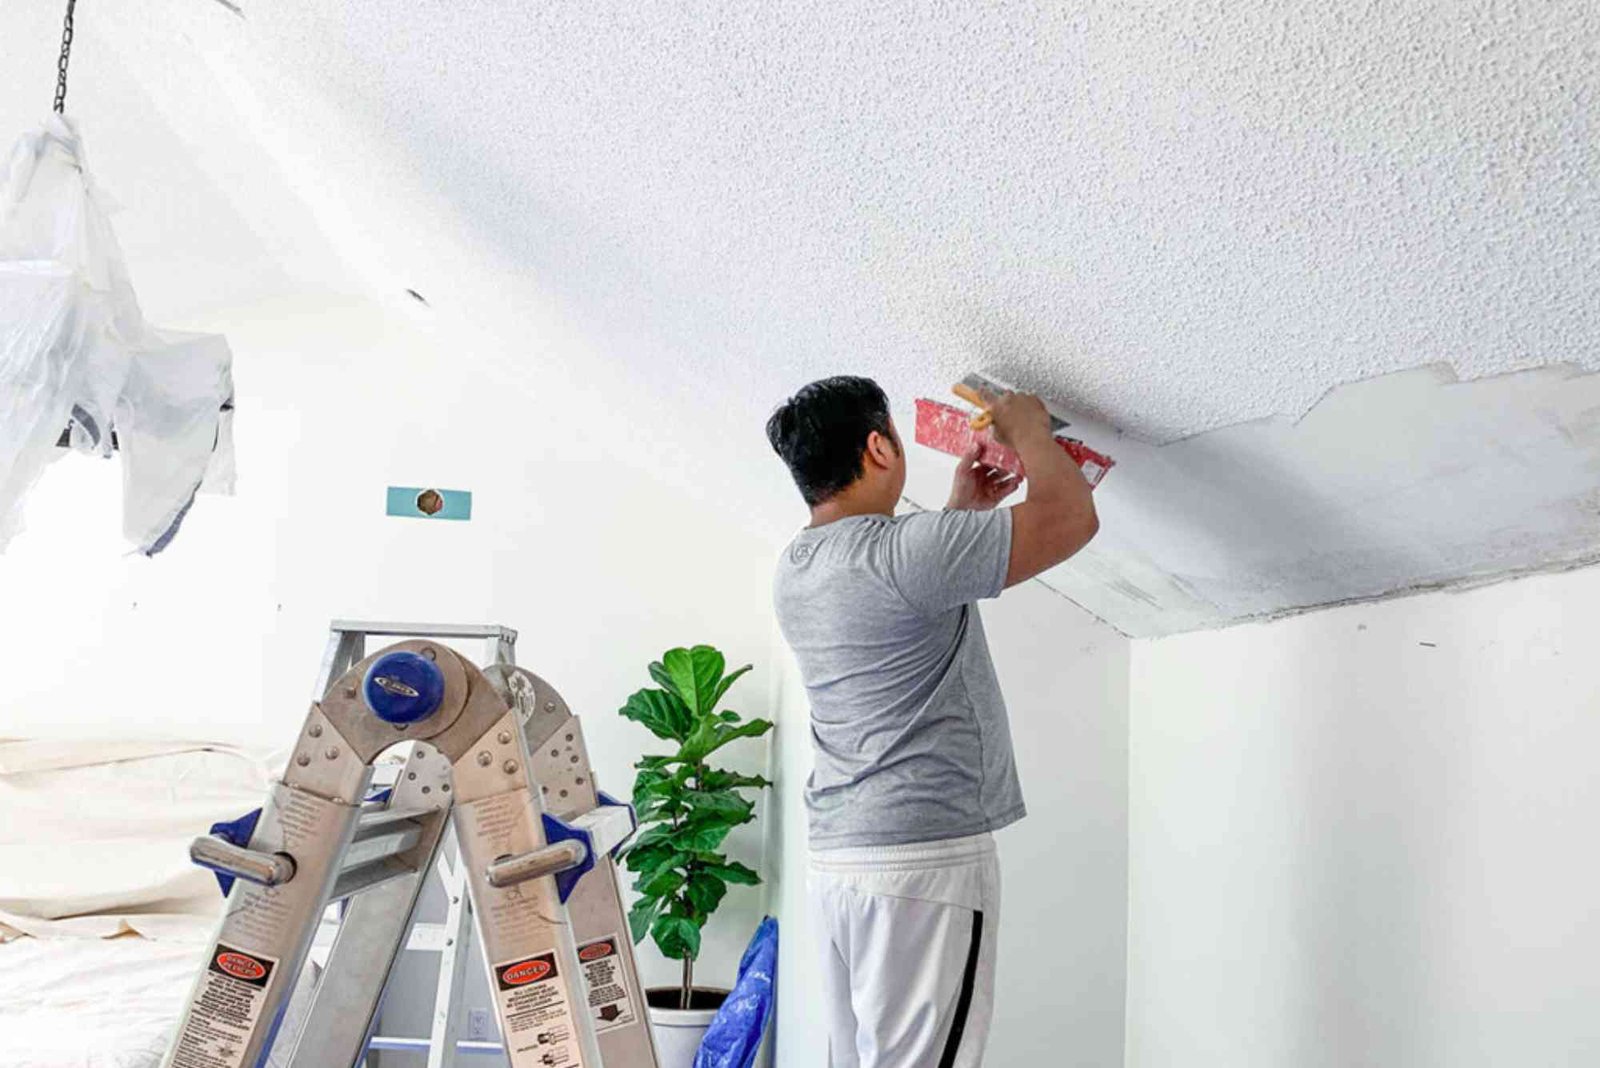
Preparation Before Installation
Preparation is the foundation of a smooth installation. Before you start, switch off the electricity supply at the circuit breaker to avoid electrical hazards. Next, gather all the necessary tools such as a screwdriver, ladder, voltage tester, wire strippers, and mounting hardware. Make sure the ceiling junction box is fan-rated, as regular boxes may not support the fan’s weight and vibration.
Another crucial step is choosing the correct mounting location. Ceiling fans should ideally be installed at least eight to ten feet from the floor and 18 inches away from walls. If you have a sloped ceiling, use a compatible mounting kit to ensure proper alignment.
Step-by-Step Guide to Wellspeed Ceiling Fan Installation
Now that you’re ready, let’s walk through the actual installation process. Each step plays a vital role in ensuring your fan operates efficiently and safely.
Unboxing and Checking Components
When you open your Wellspeed fan package, check for all included parts such as blades, motor housing, downrod, canopy, screws, and the mounting bracket. Cross-reference them with the instruction manual. Missing components can delay installation or compromise stability.
Assembling the Mounting Bracket
Secure the mounting bracket to the ceiling junction box using the provided screws. Tighten it firmly to prevent any movement during operation. If your fan uses a downrod, attach it to the motor housing before hanging it on the bracket.
Wiring the Fan
Electrical connections form the heart of fan functionality. Connect the fan wires to the ceiling wires according to color codes — typically black to black (live), white to white (neutral), and green to copper (ground). Use wire nuts to secure the connections and wrap them with electrical tape for extra safety. Before proceeding, double-check that the wiring is properly insulated.
Attaching the Blades
Attach each blade to the motor using the provided screws. Tighten them evenly to maintain balance. Wellspeed fans are designed with aerodynamic precision, so misaligned blades can cause unnecessary wobbling or reduced airflow.
Securing the Canopy and Testing
Once the blades are in place, lift the canopy and secure it to the mounting bracket to cover the wiring. Turn the power back on and test the fan. Observe the speed settings, direction of rotation, and sound level. A smooth, quiet operation indicates successful installation.
If you want a detailed walkthrough with visuals, you can read about Wellspeed ceiling fan installation for more hands-on guidance.
Common Mistakes to Avoid
Even skilled DIY enthusiasts can make errors during installation. One frequent mistake is neglecting to use a fan-rated junction box. Regular boxes may crack under vibration. Another common issue is improper wiring, which can lead to malfunction or electrical hazards. Also, avoid skipping the balancing step — even slight misalignment can create noise and reduce motor life. Ensuring each component is securely fastened helps maintain long-term reliability.
Maintenance Tips After Installation
A well-installed fan will only perform its best if maintained regularly. Dust accumulation on the blades can reduce airflow and strain the motor. Clean your Wellspeed ceiling fan monthly using a microfiber cloth or a vacuum with a soft brush attachment. Additionally, check for loose screws or signs of wear every six months. Tighten any connections as needed. If your fan includes remote functionality, replace batteries periodically and keep the transmitter dust-free.
Lubrication is another key factor. Although most Wellspeed fans use sealed bearings that don’t require oiling, it’s wise to consult the user manual for your specific model. Proper maintenance not only extends the fan’s lifespan but also enhances its performance and efficiency.
Energy Efficiency Benefits
Installing a ceiling fan like Wellspeed can reduce your dependency on air conditioning. It uses far less power while maintaining comfort through air circulation. During summer, set the fan blades to rotate counterclockwise to create a cooling breeze. In winter, reverse the direction to circulate warm air trapped near the ceiling. This simple feature can lower energy costs and reduce your environmental footprint.
Troubleshooting Common Issues
Even with perfect installation, occasional problems may arise. If the fan wobbles, it could be due to unbalanced blades or loose screws. Use a balancing kit to fix this. If you hear unusual noises, inspect the mounting bracket or motor housing for loose parts. A fan not turning on usually indicates wiring issues or a faulty switch. Always turn off the power before troubleshooting, and if you’re unsure, seek help from a qualified electrician.
Professional Installation vs. DIY
While many homeowners prefer installing their ceiling fans themselves, hiring a professional ensures absolute safety and accuracy. Experts are trained to handle wiring complexities, weight distribution, and voltage compatibility. DIY installation is rewarding if you have basic electrical knowledge, but professional service minimizes risks and saves time. The choice ultimately depends on your comfort level and technical experience.
Safety Precautions
Safety should always come first. Never install or service a fan with the power supply on. Always use insulated tools and a stable ladder. Avoid using damaged wires or connectors. When mounting on a high or sloped ceiling, ensure you have the right equipment to prevent falls or injuries. Wellspeed fans are designed with safety in mind, but human caution remains essential.
A ceiling fan is more than just a cooling device — it’s an essential element of comfort, efficiency, and style. Understanding Wellspeed Ceiling Fan Installation: Explained empowers you to achieve flawless installation while ensuring safety and performance. By following the right steps, avoiding common mistakes, and maintaining the fan properly, you can enjoy years of reliable operation.
For more information and visual references, you can read about Wellspeed ceiling fan installation. And if you’re passionate about home improvement or looking for related topics, check out more blog articles for expert advice and detailed tutorials. For additional background information, you may also explore Wikipedia to deepen your understanding of ceiling fan technology and design.
Frequently Asked Questions
How long does it take to install a Wellspeed ceiling fan?
It typically takes between 45 minutes and two hours, depending on your experience and ceiling type. Professionals may complete it faster.
Can I install a Wellspeed ceiling fan on a sloped ceiling?
Yes, Wellspeed offers compatible mounting kits that allow for secure installation on sloped or vaulted ceilings without affecting performance.
Why is my Wellspeed fan wobbling after installation?
Wobbling usually results from uneven blade alignment or loose screws. Balancing kits or adjusting blade brackets can fix the issue easily.
Do Wellspeed fans require lubrication?
Most models come with sealed bearings that don’t need oiling. However, check the product manual to confirm maintenance requirements for your specific fan.
Can I install a remote control to my existing Wellspeed fan?
Yes, many Wellspeed ceiling fans are compatible with universal remote kits. Follow manufacturer instructions or hire an electrician for setup.
By understanding Wellspeed Ceiling Fan Installation: Explained, you gain the knowledge to make your installation process smooth, efficient, and safe. Whether you prefer a DIY approach or professional assistance, the key lies in following structured steps and maintaining your fan regularly for long-lasting comfort and performance.